Last Updated on January 17, 2023 by James Dziezynski

Note: At the time of writing, I’m using the Analogue NT Mini Noir with the Jailbreak V 6.6 software. The process may change with future updates to the firmware.
Another Minor Update 1/17/23 – Dragon Warrior 3 and Dragon Warrior 4 need a modified SXROM.bin file to rip properly. That file can be found here. Add it into your NES > Plugins folder on your SD card (on your PC) then put the SD card back in the NT Mini Noir. I renamed my file to “DW34SXROM.bin” so I knew which one it was. When you rip Dragon Warrior 3 or Dragon Warrior 4, use this file.
Also noted in this same thread was the fact Startropics uses the HKROM.bin file (in the 6.6 software options) – good to know! Thanks to Cheesemeister3k for this info.
Minor update 1/19/2022 – To see the current issues with COPYNES, visit the GitHub page. Some current issues include the inability to rip Dragon Warrior 3 and Dragon Warrior 4, graphic issues with Metroid and Mega Man V, and minor issues with a few other games. I’ll update this post when the Jailbreak software updates to 6.7.
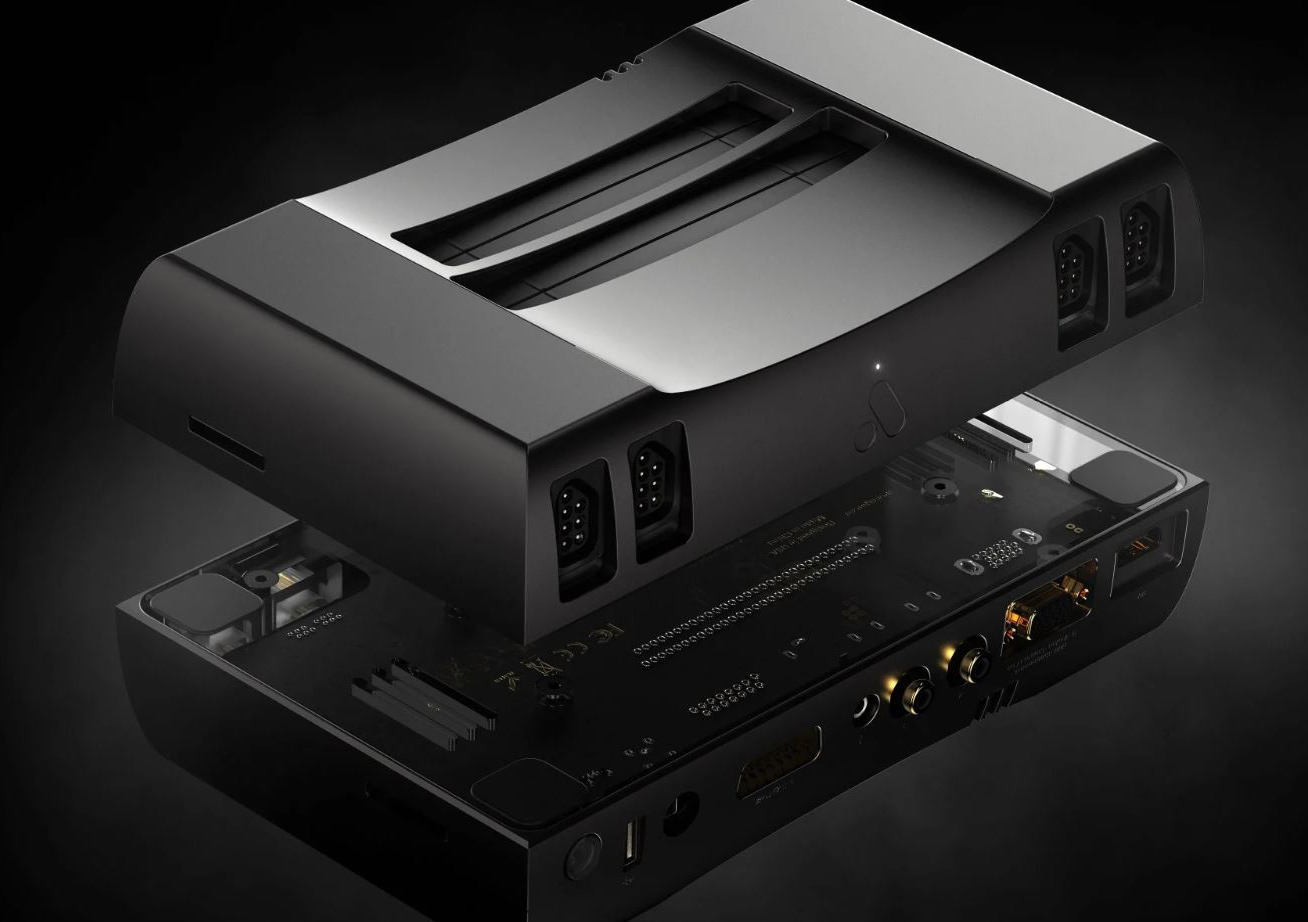
One of the coolest features of Analogue’s NT Mini Noir is the option to install the “Jailbreak” firmware, which features the COPYNES function—the ability to rip ROMs of your real-life NES cartridges! Not only is this a legal way to back-up your physical games, it also makes it possible to transfer your save files onto an SD card.
This is a big deal!
Normally, save files were wiped away for all eternity once the battery on your NES game fizzled out. With COPYNES, these files are saved on an SD card. These files can later be run from the NT Mini Noir itself (off the SD card) or through the emulator of your choice.
So, if you’ve grinded your way up to Level 30 in Dragon Warrior, have a high-level party in Wizardry II, or are 100 games into a saved season in Baseball Simulator 1.000, you can copy a save file and revisit these games anytime without worrying about dead batteries. This is great if you want to revisit some of the most grisly deaths on NES time and time again.
The COPYNES process is semi-straightforward, but there are a few “gotchas” that the current tutorials I’ve found online overlook. This article will hopefully help clarify the missing “draw the owl” steps in the process.
Step 1: Install the Jailbreak Software

If you’re nervous about adding the Jailbreak software, let me ease your mind:
- The NT Mini Noir is designed so that firmware updates won’t brick the console.
- More importantly, it’s an open secret that the Jailbreak software was created by one of the main developers of the NT Mini Noir! My guess is there was just enough of a legal gray area to “do the dance” and not include this firmware with the official product.
To start, you’ll need an SD card or a micro SD with adapter. Use a 32GB or smaller card and format it to FAT32.
Next, go to the firmware update page on GitHub. Be sure to check out the read me files. Three things to remember here:
- The .bin firmware file should be the only .bin on this card and should live in the root directory. You won’t need other official NT Mini Noir updates for the firmware to update.
- Be sure to copy the SD Card Folder structure into the root directory as well. These folders will be where you can run other Cores such as Genesis and Game Boy ROMs (cool stuff, but not the focus of this article!)
- Your SD card slot is on the left-hand side of the NT Mini Noir!

Installing the firmware is a little weird if you’re new to the NT Mini Noir. It’s not entirely user-friendly, but thankfully, it’s also not difficult.
Here’s how:
- With the power off, insert the SD card.
- Power on the system (either with the janky power button on the back or holding SELECT + A on the controller for about 2 seconds). There is a pinhole-sized LED light above the Analogue logo on the front of the console that will turn on. Now your system is alive and updating. It’s easy to think the update isn’t working as there will be nothing on-screen to say so.
Your screen will be blank for a distressingly long time, but as long as that itty-bitty power light is on, the firmware is being uploaded and installed. - After what may seem like an eternity (3 – 5 minutes), the Analogue system will boot up with several new menu items!

Step 2: Using COPYNES to Clone your ROMs and Save files
As the NES version of Ghostbusters would say, Conglaturation! You now have COPYNES MINI as an option under the TOOLS menu. It’s time to get rippin’!
Before we start, please note that there are two tricky things about using COPYNES:
- Each game needs to be paired with the correct mapper. Finding the correct mapper to reference when ripping the game may seem intimidating, but it’s fairly easy to find this info. NES cart data information is archived online at several sites. More on this in the step-by-step notes below.
- You’ll need to move files around on the SD card to play your actual saves off the NT Mini Noir when not using a cart. By default, the NT Mini Noir doesn’t pair these two. It may seem like your Save file was lost, but it wasn’t—it just doesn’t default to the correct folder.
Note: Before you begin, be 100% sure the .bin files and the System Folders are in the root directory of your SD card. If they are even one folder deep, COPYNES won’t work correctly.
Also note: Even if you have a ripped ROM and .sav file, if you insert a cart, the system will use the cart’s native save data.
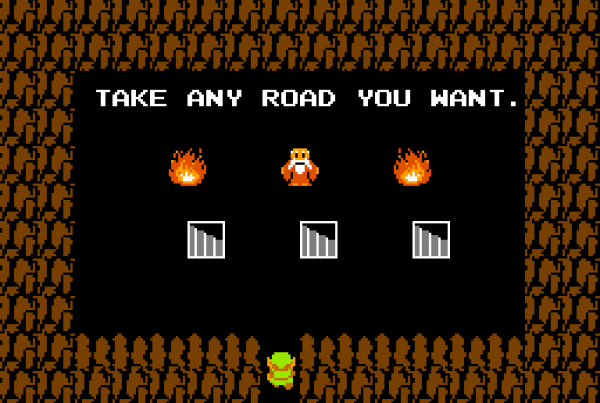
With that in mind, let’s go. For our example, we’ll use The Legend of Zelda.

Put the game into the console and select RUN PROGRAM to boot up the game.
Once the game is live, be sure to check that you actually have valid save files! Assuming you do, hit the HOME button on your controller (or whatever method you use to access the NT Mini Noir’s menu).
Go to TOOLS > COPYNES MINI. (Yes, you will probably have to break the habit of messing up by hitting B to confirm and A to cancel, which is the opposite configuration of nearly every NES game!)
Once you select COPYNES MINI, you’ll be brought to the mappers screen. Hey, what the heck? I thought this was going to be easy?!

Before the rip begins, you’ll be presented with a fairly intimidating menu of mapper options to pair with your cart. Pick the wrong one and the rip will fail. To find the correct mapper, look for an NES database that details the hardware.
I like to use Bootgod’s site, which makes this process easy.

The hardware type will be listed near the bottom of the cart ROM properties, as seen in the image. In general, MMC1, MMC3, and MMC5 mappers will line up for clean rips, but as you can see in the mapper menu, some publishers have specific mappers for specific games. Just scroll through the list to double-check for a specialized mapper, for example, for some Konami or Jaleco games.
Once you’ve selected the correct mapper, begin the rip. The system will display a THINKING icon and some progress bars.

When it’s ready you have two steps left:
- Be sure to check the BATTERY SAVE box (hit “B” to mark it with an X).
- Name the file. I usually just leave the default name in place and change it once I have the files on my PC. The naming convention in COPYNES is pretty clunky and more than once I’ve canceled my progress by accidentally hitting “A”.
- Hit “Start” to save.
Step 3: File Management
Now that we have dumped the ROM and Save file onto the SD card, move over to the PC for a little file management.

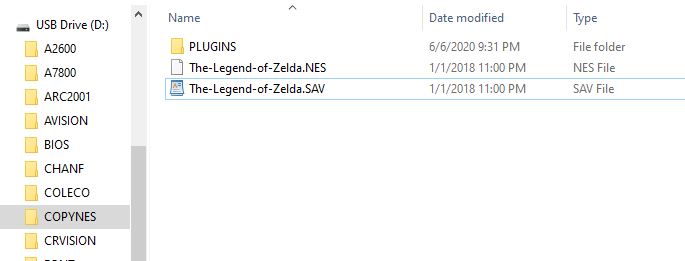
First, you’ll probably want to rename the files so that they aren’t GAME1115 or whatever the default is. Be sure the .nes and .sav files have the same names.
Next, Cut (don’t copy) the files. Put the .nes file into the NES system folder. Place the .sav file in the SAVES > NES folder. Be sure the files aren’t lingering in the COPYNES folder; make sure they are deleted or moved.
Now you can play your saved games from the NT Mini Noir without a cart!


Optional: Save for Emulators
If you want to use your ROMs and .sav files in an emulator, save your files locally on your PC. I usually ZIP the files into a single archive of the .nes and .sav files. For some emulators, this will be enough – just open and play.
For others, you may need to extract and move the .sav file into your designated save folder (and possibly delete the .sav file that already exists). Most emulators call from a single “Saves” folder, so you can archive your additional save files in their own dedicated folder and simply swap them out as needed.
COPYNES for Collectors

COPYNES is by far one of the coolest features of the NT Mini Noir! For die-hard NES fans, the chance to archive their own real games off the real hardware is quite a treat.
Long live the NES heroes of yore!!!